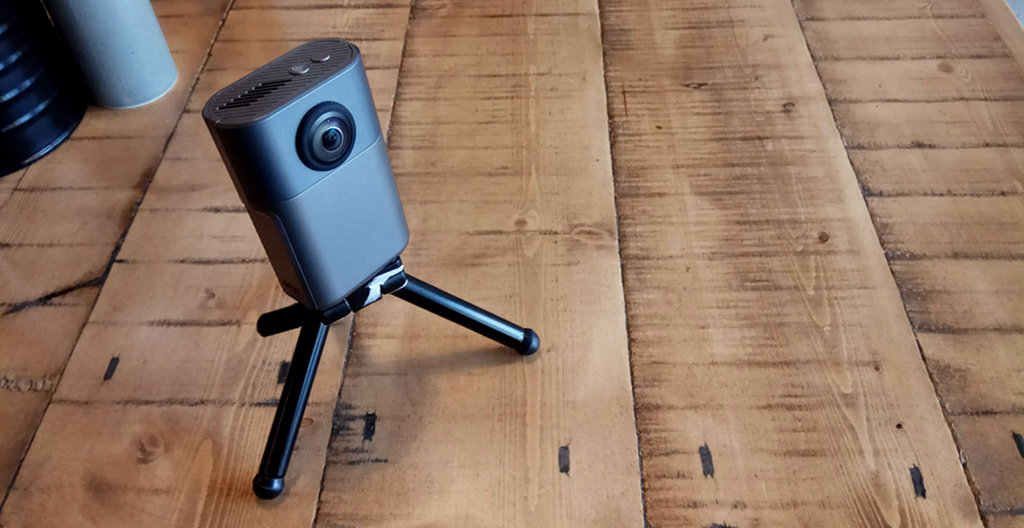
Welcome to PyWunderCam’s documentation!
PyWunderCam is a Python module that enables control of the Wunder 360 S1 panoramic camera from a Python program.

The camera is based on a Rockchip 1108 System on Chip (SoC) running Linux. Within its operating system, it raises three services to serve images and video, control the camera and stream video over a WiFi interface. In addition to these services, the camera presents itself as a standard webcam if connected via USB.
At the time of writing, PyWunderCam interfaces with the first two services and enables functionality that is not possible via the provided mobile phone application.
Streaming video and extended functionality are scheduled for upcoming releases.
Quickstart
from pywundercam import PyWunderCamAuto

camera_control = PyWunderCamAuto()
Single 360 Shot
single_photo = camera_control.single_shot()
Continuous (Burst) 360 Shot
photos = camera_control.continuous_shot()
Altering the ISO, White Balance and Exposure Compensation Modes
Both of the above functions (.single_shot(), .continuous_shot()) take optional parameters
iso, white_balance_mode and exposure_compensation. For more information on the values of
camera state parameters, please see pywundercam.CamState.
Storing Images
To store the result of a single shot:
single_photo[0].save_to("MyImage.jpg")
To store the result of a continuous (burst) shot:
photos[0].save_to("./")
Note
In the case of a single image, all that is required is a filename. When saving the result of a continuous (burst) shot, all that is required is a directory in which all files belonging to the same shot will be stored.
Depending on file sizes and number of shots (in continuous mode), the file transfers might appear to be inserting a small delay in the whole process.
Displaying images
pywundercam makes use of the pillow module and returns images that are ready to be forwarded to
Python’s ritch ecosystem of image processing modules. A quick way of displaying the image is to use matplotlib.
Continuing from the above example, to display the result of a single shot:
from matplotlib import pyplot as plt

plt.imshow(single_photo[0].get())
plt.axis("off")
plt.show()
And in the case of a continuous (burst) shot, a specific picture out of the set would have to be chosen first:
plt.imshow(photos[0].get())
plt.axis("off")
plt.show()
This concludes the quickstart guide which makes use of PyWunderCamAuto. Although this client allows you to take
pictures in single and continuous (burst) modes, the real power of pywundercam is in the underlying client object
PyWunderCam that allows much more fine control over the complete parameter set of the Wunder 360 S1.
You could now browse over to the rest of the documentation sections to learn more about exceptions, hardware, and software design around PyWunderCam.